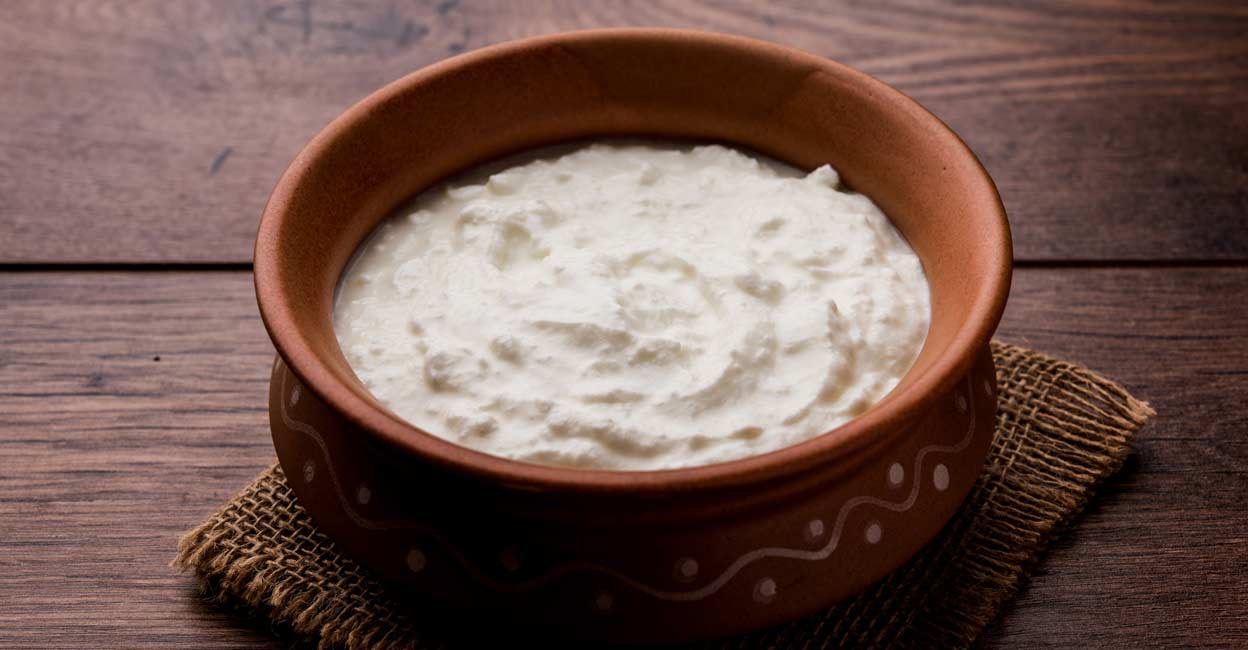
The summer sun blazing? Feeling the heat? Cool down from the inside out with a bowl of homemade curd, also known as dahi! This creamy yogurt-like food is a staple in Indian cuisine, perfect for eating on its own, using in raitas, or adding a tangy touch to curries.
The beauty of curd lies in its simplicity. Traditionally made with just milk and a little bit of culture (starter), it’s a healthy and budget-friendly way to enjoy the benefits of yogurt. Plus, making curd at home allows you to control the ingredients and thickness.
Here’s a guide with 10 easy steps to get you started on your curd-making journey:
Curd Making Essentials:
- Milk: Choose whole milk for the richest and creamiest curd. You can also use low-fat or skim milk, but the curd will be thinner.
- Starter Culture: This is what kickstarts the fermentation process, turning milk into curd. You can use plain yogurt with live cultures, buttermilk, or even a little bit of leftover curd from a previous batch.
- Warm and Cozy Spot: Curd needs a warm environment to ferment properly. Aim for a temperature between 105°F (40°C) and 115°F (46°C).
10 Steps to Homemade Curd Goodness:
- Cleanliness is Key: Wash your pot and utensils thoroughly with hot, soapy water. This helps prevent unwanted bacteria from spoiling your curd.
- Boil the Milk: Pour your milk into a pot and heat it over medium heat. Bring it to a boil, stirring occasionally to prevent scorching.
- Let it Cool Down: Once the milk boils, remove it from the heat and let it cool down to lukewarm temperature. Ideally, you want the milk to be around 105°F (40°C) to 115°F (46°C). You can check the temperature with a thermometer or by dipping a clean finger in the milk – it should feel warm but not hot.
- Introduce the Culture: Once the milk reaches the right temperature, whisk in your chosen starter culture – plain yogurt, buttermilk, or leftover curd. Make sure it mixes evenly.
- Finding the Perfect Spot: Now comes the magic of fermentation! Choose a warm and cozy spot for your pot. You can wrap it in a towel or blanket, or place it near a low-heat appliance like a preheated oven (turned off) with the light on.
- Patience is a Virtue: Let the curd sit undisturbed for 6-8 hours. During this time, the milk will thicken and develop a tangy flavor. Resist the urge to peek or open the pot, as this can disrupt the fermentation process.
- The Curd Test: After 6-8 hours, gently tilt the pot. If the curd has set and separates cleanly from the sides, it’s ready! If it’s still too loose, give it another hour or two.
- Chill Time: Once your curd is set, transfer it to the refrigerator for at least 2-3 hours. This allows the flavors to develop further and gives you a nice chilled curd to enjoy.
- Get Creative (Optional): Once chilled, you can enjoy your homemade curd plain, with a drizzle of honey or chopped fruit. You can also use it in raitas, dips, or even as a tangy topping for curries.
- Storing Tips: Homemade curd can be stored in the refrigerator for up to a week. Make sure to keep it in an airtight container to prevent contamination.
There you have it! 10 simple steps to cool and creamy homemade curd.
Here are some additional tips:
- Use full-fat milk for the thickest and creamiest curd.
- If you don’t have any starter culture, you can try using a few pods of green cardamom as a natural alternative. However, the results may not be as consistent.
- If your curd doesn’t set properly, it might be due to the milk not being warm enough or the starter culture being inactive. Try again with a fresh batch of milk and a new starter.
- With a little practice, you’ll be a curd-making pro in no time!
So, ditch the store-bought yogurts and embrace the satisfaction of making your own delicious and healthy curd at home. Happy curdling!